# How to create custom cursor using HTML, CSS & JS
There are many examples that show the use of custom cursors. The question is how we can create those? Are they simple to create? Have a look at the below image we are going to create a similar one with just a few lines of code.
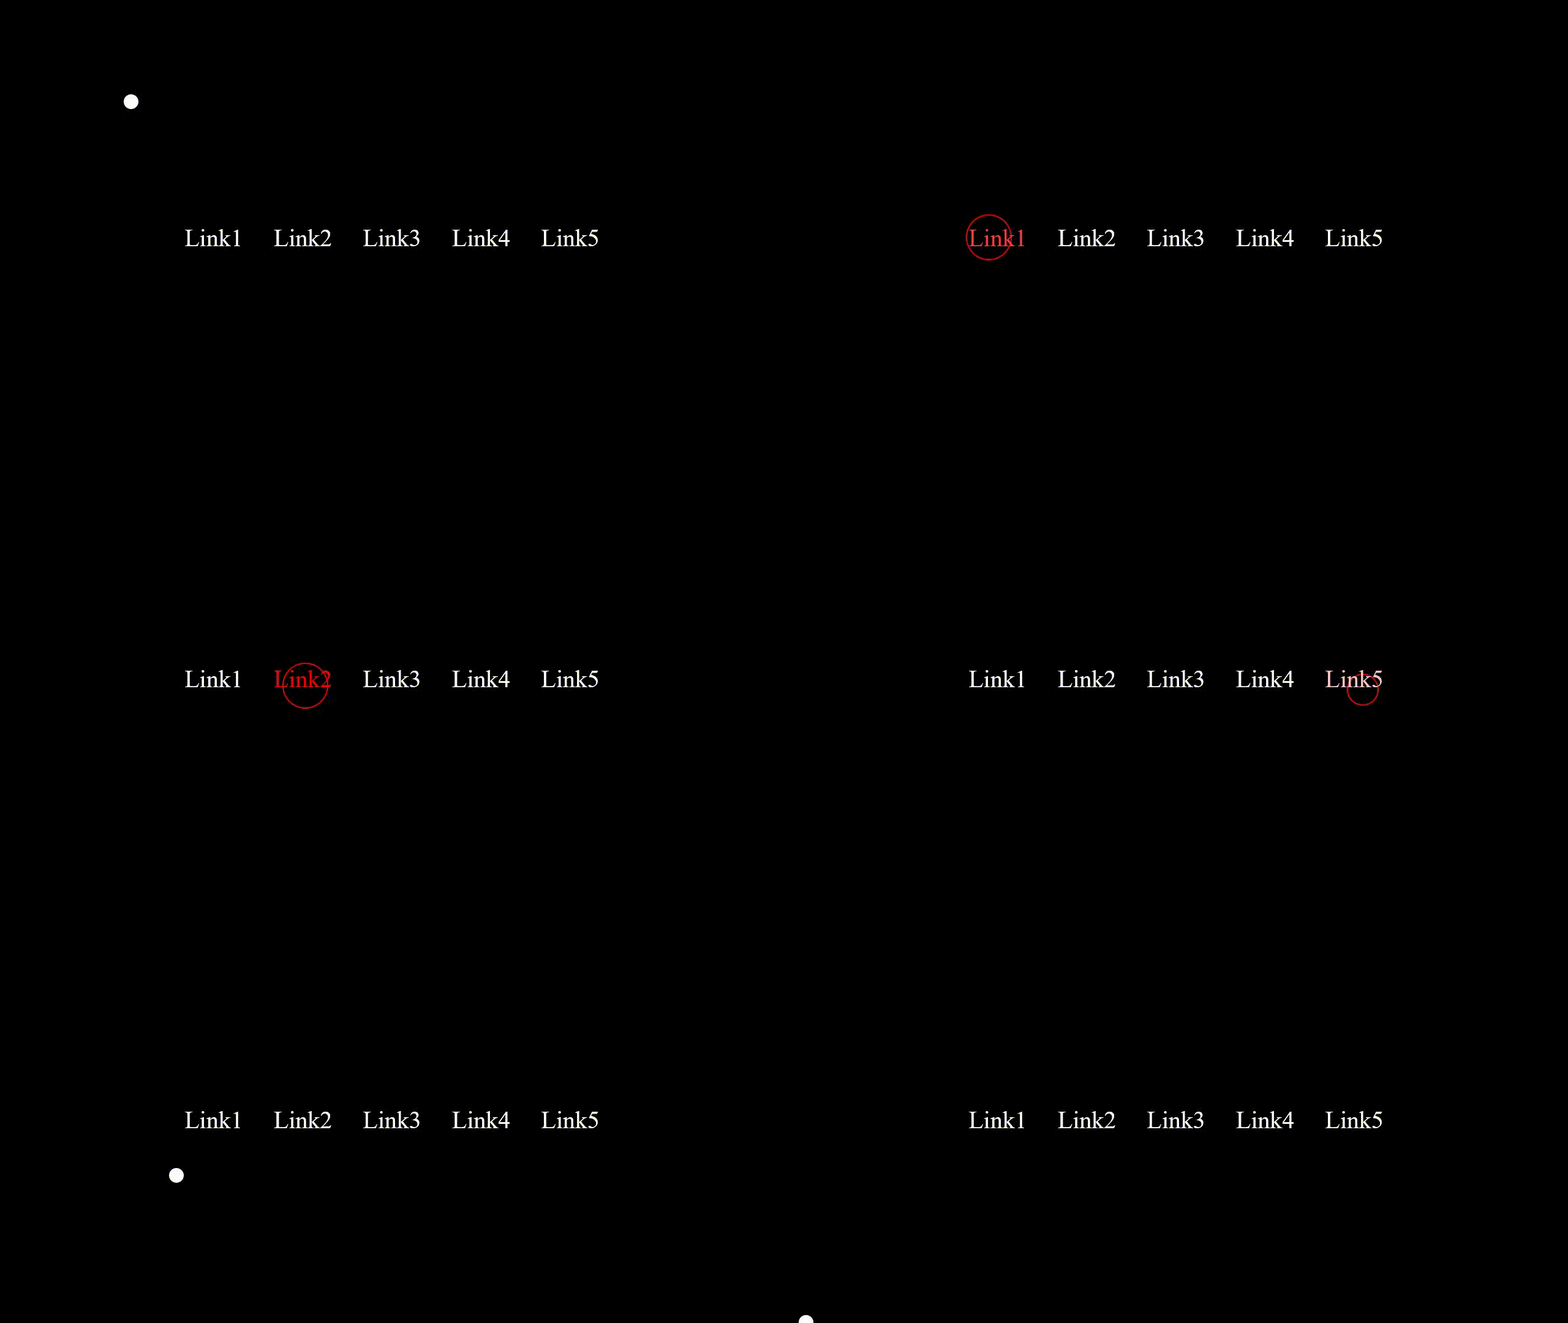
## How to do this
**1. Adding HTML**
In the below HTML snippet, there is an element with the class name **".cursor"** which will act as our new cursor.
```
Custom cursor using CSS and JS
```
**2. Adding CSS**
Here u can see there is styling added for **.cursor** class. Both **".cursor"** & **".cursor.link"** .
```
* {
margin: 0;
padding: 0;
box-sizing: border-box;
cursor: none;
}
body {
display: flex;
justify-content: center;
align-items: center;
height: 100vh;
background: #000;
}
/* styling cursor */
.cursor {
position: fixed;
width: 0;
height: 0;
border: 10px solid #fff;
border-radius: 50%;
transform: translate(-50%, -50%);
pointer-events: none;
transition: width 0.2s, height 0.2s;
}
.cursor.link {
width: 60px;
height: 60px;
border: 2px solid #f50000;
}
ul {
position: relative;
display: flex;
}
ul li {
list-style: none;
margin: 0 20px;
}
ul li a {
position: relative;
display: inline-block;
font-size: 2em;
color: #fff;
transition: 0.5s ease;
text-decoration: none;
}
ul li:hover a {
color: #f50000;
}
```
Now the main thing comes into the picture, we need to move this element with our mouse move. I'm using vanilla JavaScript you can use JQuery as well.
**3. Adding JS**
```
const cursor = document.querySelector(".cursor")
// move cursor as mouse move
document.addEventListener("mousemove", (e) => {
cursor.style.left = e.pageX + 'px'
cursor.style.top = e.pageY + 'px'
})
// add different classes on events
const links = document.querySelectorAll("a")
links.forEach((link) => {
link.addEventListener("mouseover", () => {
cursor.classList.add('link');
})
link.addEventListener("mouseout", () => {
cursor.classList.remove('link');
})
})
```
The last function is for cursor behaviour, you can work around with different event listeners & add as many classes to that element & rock 🔥
That's it, now you can integrate this snippet in any of your projects.
Thank you, do follow 😁.