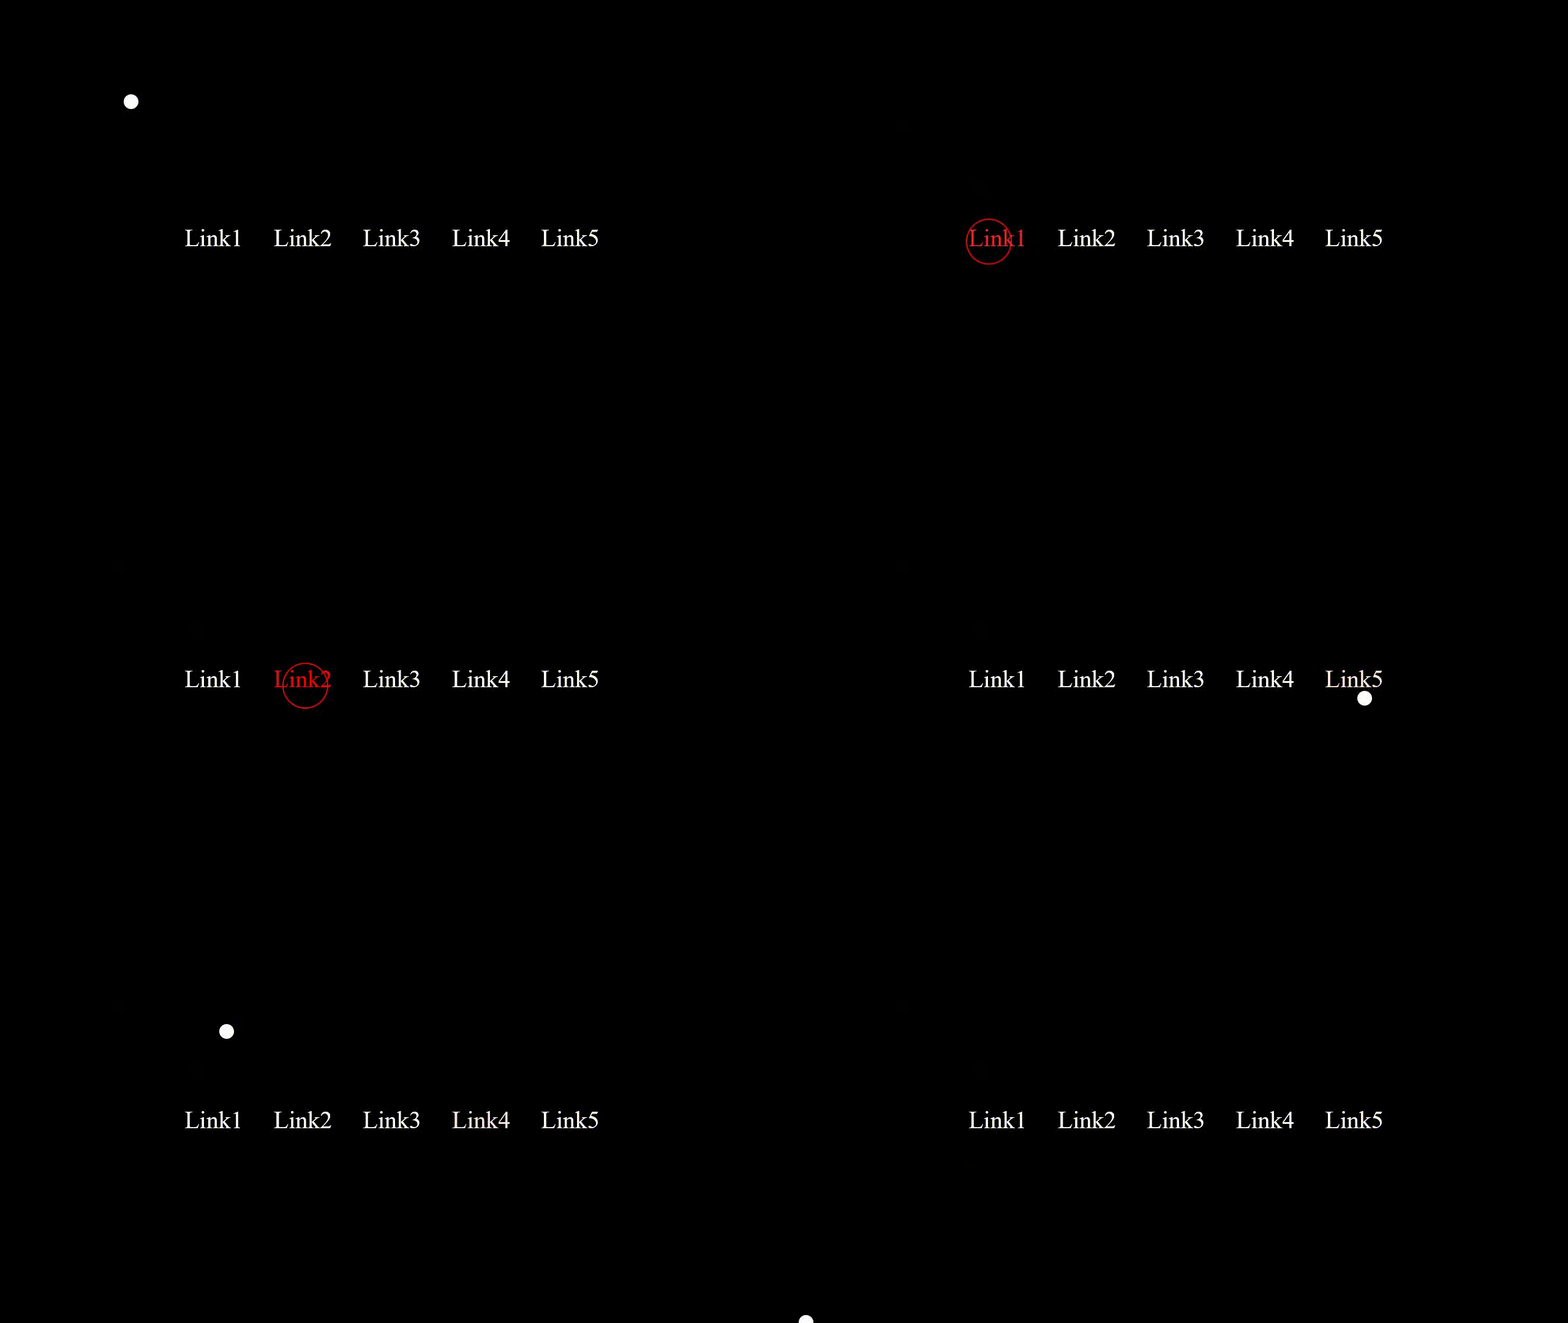
There are many examples that show the use of custom cursors. The question is how we can create those? Are they simple to create? Have a look at the below image we are going to create a similar one with just a few lines of code.

How to do this
1. Adding HTML In the below HTML snippet, there is an element with the class name ".cursor" which will act as our new cursor.
<!DOCTYPE html>
<html lang="en">

<head>
   <meta charset="UTF-8">
   <meta http-equiv="X-UA-Compatible" content="IE=edge">
   <meta name="viewport" content="width=device-width, initial-scale=1.0">
   <title>Custom cursor using CSS and JS</title>
   <link rel="stylesheet" href="./style.css">
</head>

<body>

   <!-- cursor element -->
   <div class="cursor"></div>

   <ul>
      <li><a href="#">Link1</a></li>
      <li><a href="#">Link2</a></li>
      <li><a href="#">Link3</a></li>
      <li><a href="#">Link4</a></li>
      <li><a href="#">Link5</a></li>
   </ul>

   <script src="./app.js"></script>
</body>

</html>
2. Adding CSS Here u can see there is styling added for .cursor class. Both ".cursor" & ".cursor.link" .
* {
   margin: 0;
   padding: 0;
   box-sizing: border-box;
   cursor: none;
}

body {
   display: flex;
   justify-content: center;
   align-items: center;
   height: 100vh;
   background: #000;
}

/* styling cursor */
.cursor {
   position: fixed;
   width: 0;
   height: 0;
   border: 10px solid #fff;
   border-radius: 50%;
   transform: translate(-50%, -50%);
   pointer-events: none;
   transition: width 0.2s, height 0.2s;
}

.cursor.link {
   width: 60px;
   height: 60px;
   border: 2px solid #f50000;
}

ul {
   position: relative;
   display: flex;
}

ul li {
   list-style: none;
   margin: 0 20px;
}

ul li a {
   position: relative;
   display: inline-block;
   font-size: 2em;
   color: #fff;
   transition: 0.5s ease;
   text-decoration: none;
}

ul li:hover a {
   color: #f50000;
}
Now the main thing comes into the picture, we need to move this element with our mouse move. I'm using vanilla JavaScript you can use JQuery as well.
3. Adding JS
const cursor = document.querySelector(".cursor")

// move cursor as mouse move
document.addEventListener("mousemove", (e) => {
   cursor.style.left = e.pageX + 'px'
   cursor.style.top = e.pageY + 'px'
})

// add different classes on events
const links = document.querySelectorAll("a")
links.forEach((link) => {
   link.addEventListener("mouseover", () => {
      cursor.classList.add('link');
   })
   link.addEventListener("mouseout", () => {
      cursor.classList.remove('link');
   })
})
The last function is for cursor behaviour, you can work around with different event listeners & add as many classes to that element & rock 🔥
That's it, now you can integrate this snippet in any of your projects.
Thank you, do follow 😁.
